How To Put Quarter Round Around Door Trim

Finishing Off Baseboards With Quarter Round Diy Home Repair Diy Home Improvement Baseboards

Pin On House

Quarter Round Around Door Casing And Transition Piece Outside Reno 2009 015 Jpg Door Casing Baseboard Trim Installing Vinyl Plank Flooring

Installing Quarter Round Moldings Quarter Round Molding How To Install Baseboards Floor Trim

In This Photo You Can See The Finished Quarter Round Return Or End Cap Woodworktrimwork In This Photo You Can See Moldings And Trim Floor Trim Baseboard Trim

Add A Plinth Block To Door Trim For A Finished Look Diy Home Improvement Home Repairs Plinth Blocks

You can purchase a miter box and saw set from most home improvement stores or online.
How to put quarter round around door trim.

Add A Plinth Block To Door Trim For A Finished Look Diy Home Improvement Plinth Blocks Home Remodeling

How To Install Quarter Round Moldings And Trim Baseboard Trim How To Install Baseboards
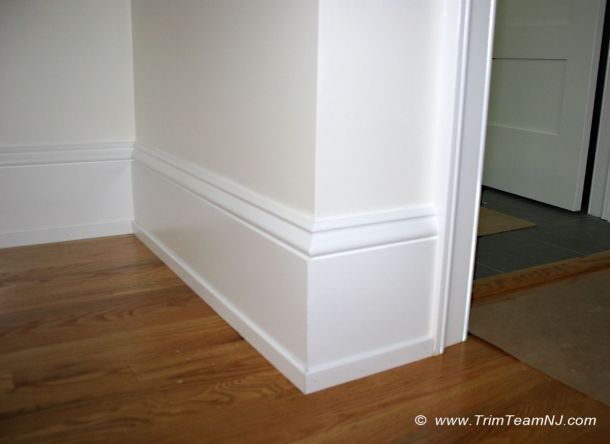
Trim Team Nj Woodwork Fireplace Mantles Home Improvement Moldings And Trim Baseboard Styles Floor Molding

Pin On Home

Pin On Trim

5 Steps Installing Baseboard Trim Baseboards Baseboard Trim Moldings And Trim

Q Is For Quarter Round Molding Home Tips For Women Moldings And Trim How To Install Baseboards Base Shoe Molding

Installing Quarter Round Moldings Cost Of Laminate Flooring Flooring Installing Laminate Flooring

Bifold Door Closed Quarter Round Moulding Corner Detail Bifold Closet Doors Home Design Diy Bifold Doors

Add Quarter Round Molding To The Bottom Of Baseboards After Installing The Laminate To Cover Gaps Diy Home Improvement Home Diy Home Projects

Shoe Moulding Instead Of Quarter Round Good Idea Baseboard Styles Moldings And Trim Baseboard Trim

Trim With Quarter Round On Transition Between Lanier Wood And Tile Floors At 120 Degree Angle Basement Remodeling Small Basement Remodel Living Room Remodel

How To Install Quarter Round Moulding In 2020 Quarter Round Molding Shoe Molding Baseboards

Pin On Hizzouse

Pin On House Stuff Awesome

It S A Wannabe Decorator S Life Framing Out A Mirror And Quarter Round Installing Vinyl Plank Flooring Wood Floor Bathroom Bathroom Vinyl

Pin On Projects To Try

Shoe Molding Option Baseboards Baseboard Styles Baseboard Trim
3
Source : pinterest.com
