How To Install A Pivot Shower Door On A Prefab Shower
How To Install A Pivot Shower Door The Home Depot
How To Install A Shower Door On A Prefab Shower How Tos Diy
Installing A Frameless Shower Door In A Fiberglass Surround Showcase Shower Door

Frameless Shower Door And Panel On A Fiberglass Shower Stall Contact Tristateshowerdoors Yahoo Com Fiberglass Shower Door Shower Doors Fiberglass Shower

Cove Pivot Shower Door Installation Foremost Shower Doors Youtube
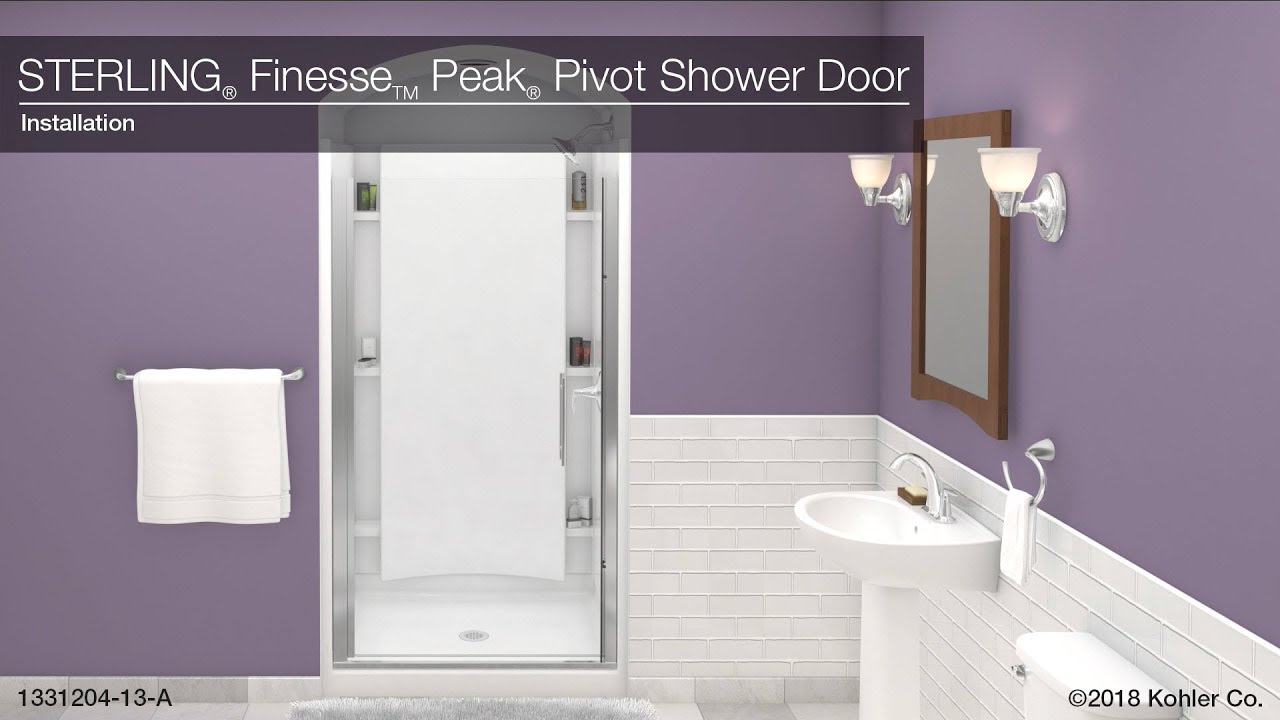
Installation Finesse Peak Pivot Shower Doors Youtube

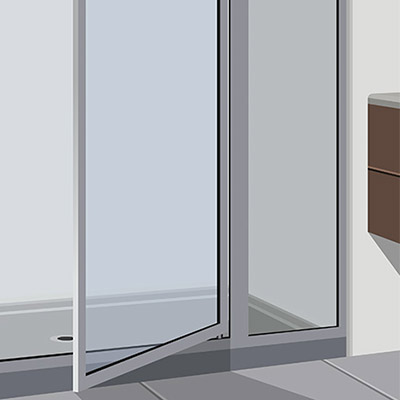
Most walls are not exactly plumb and the track will need to be cut based on the opening.
How to install a pivot shower door on a prefab shower.

How To Replace A Shower Door How Tos Diy
Showroom Displays Fiberglass Shower Door Shower Remodel Tub To Shower Remodel

Pin By Ankeny Glass On Shower Doors By Ankeny Glass Fiberglass Shower Shower Remodel Shower Doors

Frameless Shower Enclosure With Header Prefab Base And Tile Walls Pivot Hinge Bathroom Shower Tile Small Shower Room Corner Bath Shower
Complete Guide To Shower Door Installation Replacement Homeadvisor

Try A Clean Contemporary Look With The Dreamline Flex Semi Frameless Shower Door In 2020 Shower Doors Frameless Shower Doors Dreamline

Bathroom Remodel Complete Centsational Girl Shower Remodel Bathroom Remodel Shower Diy Bathroom Remodel

Fiberglass Shower Enclosures This Tub Deck Is An Example Of Our Custom Tile Work Every Tile In Diy Shower Door Shower Stall Fiberglass Shower Enclosures

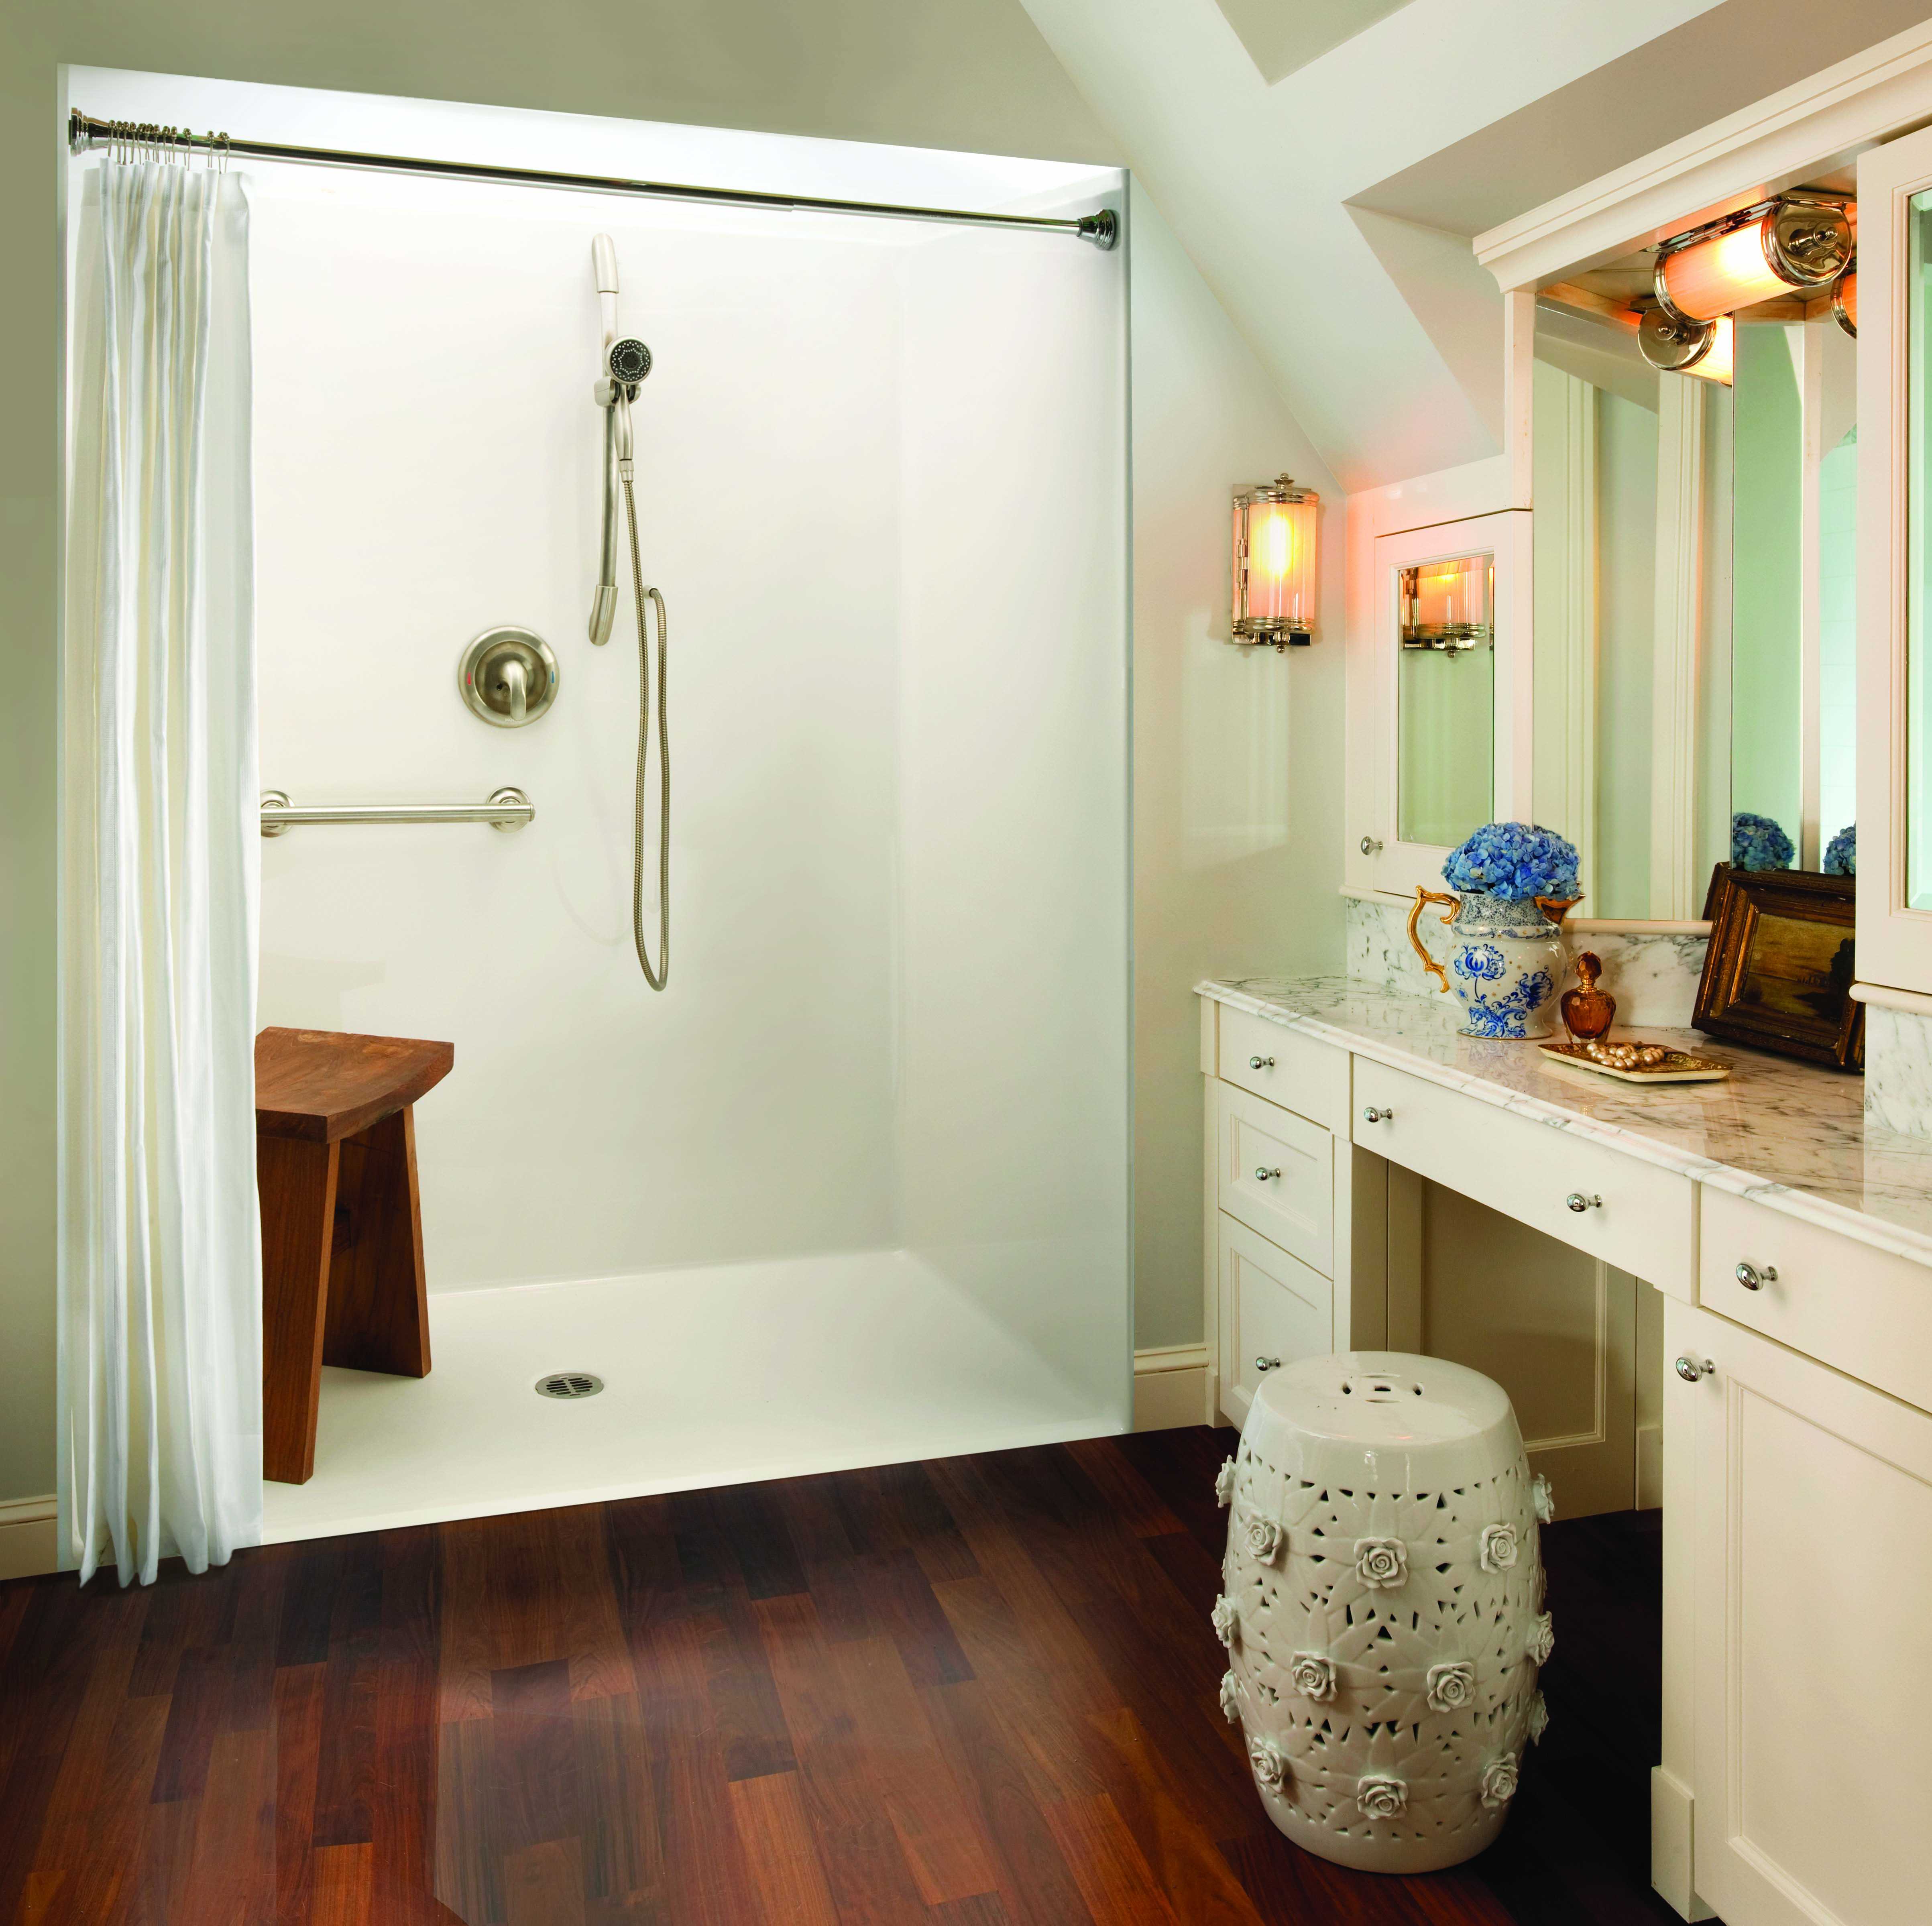
Ageless Design Lets Baby Boomers Age In Place At Home Prefab Shower Enclosures Bathrooms Remodel Beautiful Bathrooms

Basco Cantour 60 X 76 Pivot Door And Panel Shower Door Perigold Shower Doors Fiberglass Shower Stalls Glass Shower Doors

Prefab Shower Stall Lowes Tub To Shower Conversion Shower Stall Bathroom Remodel Shower

Neoscape 34 X 72 Neo Angle Hinged Shower Enclosure Shower Enclosure Frameless Shower Enclosures Frameless Shower Doors

Glass Corner Shower In Kansas City Installed With Silver Frame By Precisionglasskc Com Framed Shower Shower Door Handles Framed Shower Glass

Aston Aquadica Swing Door Frameless Shower Enclosure Square Shower Enclosures Frameless Shower Enclosures Shower Doors
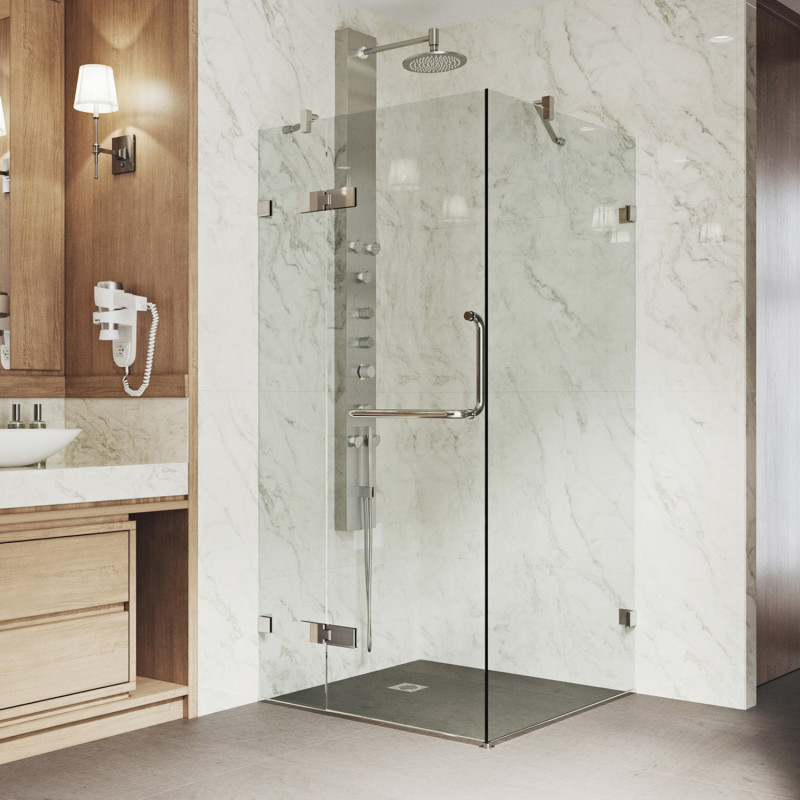
Vigo Monteray Frameless Shower Enclosure

Pin On Studio Ideas
Curbless Showers Benefits Types Of Prefabricated Curbless Showers Homeability Com

First Step To Loving Our Tiny Master Bath Shower Remodel Bath Shower Doors Replace Shower Door
Https Encrypted Tbn0 Gstatic Com Images Q Tbn And9gctc3f88x D3s9uywlqqrnknjn13sqbkskgovhjhxbj4vkqmtng9 Usqp Cau
Source : pinterest.com
