How To Install Molding Around Door Frame

Create Awesome Door And Window Trim Molding By Layering Sawdust Girl Home Remodeling Home Upgrades Home

Fancy But Easy Diy Door Trim Design Plus Seven Design Variations And How To Create Them Addicted 2 Decorating Baseboard Styles Interior Door Trim Baseboard Trim

Pin On Walls

Rapidfit Moulding Crown Base Door Frame Goes Over Existing Molding Shut The Front Door I Was Just Saying Home Remodeling Home Diy Diy Home Improvement

Seeking Lavender Lane Adding Character To Your Home Diy Home Improvement Moldings And Trim Home Improvement

How To Easily Install Bifold Door Frame Trim Dream Design Diy Door Frame Molding Door Frame Bifold Doors

Learm more about interior trim work here.
How to install molding around door frame.
Craftsman Style Door Trim Diy Update Craftsman Interior Doors Craftsman Style Doors Interior Door Trim

Pin On Decorating Tips

Pin On Front Entrance

Pin By Betsy Barricklow On Home Decor Interior Door Trim Home Moldings And Trim

Pros Top Moulding And Bottom Trim Where Floor Trim Meets Cons Would Need To Buy 1920s House Home Remodeling Moldings And Trim

I Have A Couple Of Doorways That Need This Treatment Door Frame Door Jam Door Frame Molding

Get Inspired 10 Minor Home Upgrade Ideas How To Nest For Less Home Upgrades Diy Home Improvement Home

Lindsay Drew Add Trim To A Solid Panel Door Moldings And Trim Door Frame Molding Craftsman Trim

Pin On Home Diy

Doorway Molding Design Ideas Driven By Decor Home Remodeling Home Moldings And Trim

Year 1 A Look Back Living Room Diy Home Improvement Home Upgrades Home Decor

Molding Over Doorway The Crown Molding Over This Door Trim Is Wrapped Around A Core Of 1 2 Moldings And Trim Home Design Decor Door Header

Installing Chunky White Craftsman Trim To Replace Wimpy Molding In Your Home Thriftydecorchick Moldings And Trim Farmhouse Trim Craftsman Door

How To Install Door Casing For Your Door The Doors Home Design Design Blogs
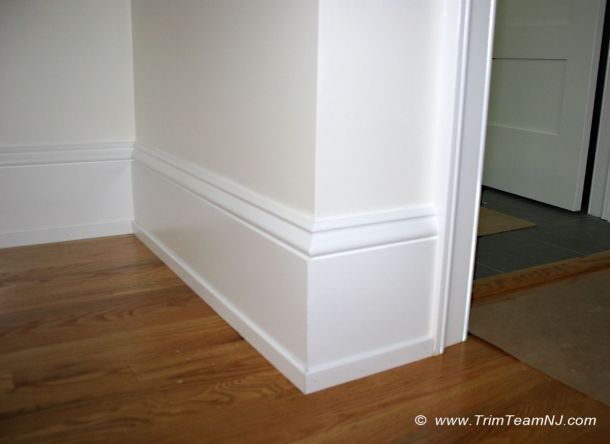
Trim Team Nj Woodwork Fireplace Mantles Home Improvement Moldings And Trim Baseboard Styles Floor Molding

Y Room Door Was An Existing Door That We Re Reusing It Used To Lead To The Storage Room I D Be Stuck Making A Door Frame Molding Diy Door Door Frame

Pin By K T On For The Home Home Remodeling Foyer Decorating Home Fix

Cookie Crumbs Sawdust Moldings And Trim Beadboard Ceiling Door Molding
3
Source : pinterest.com
